Goals of this lesson
How-To
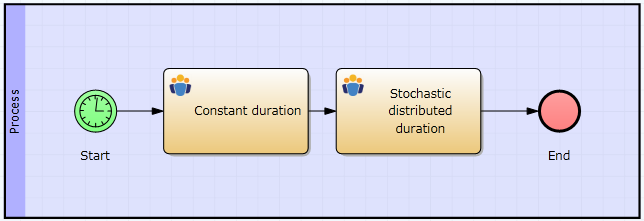
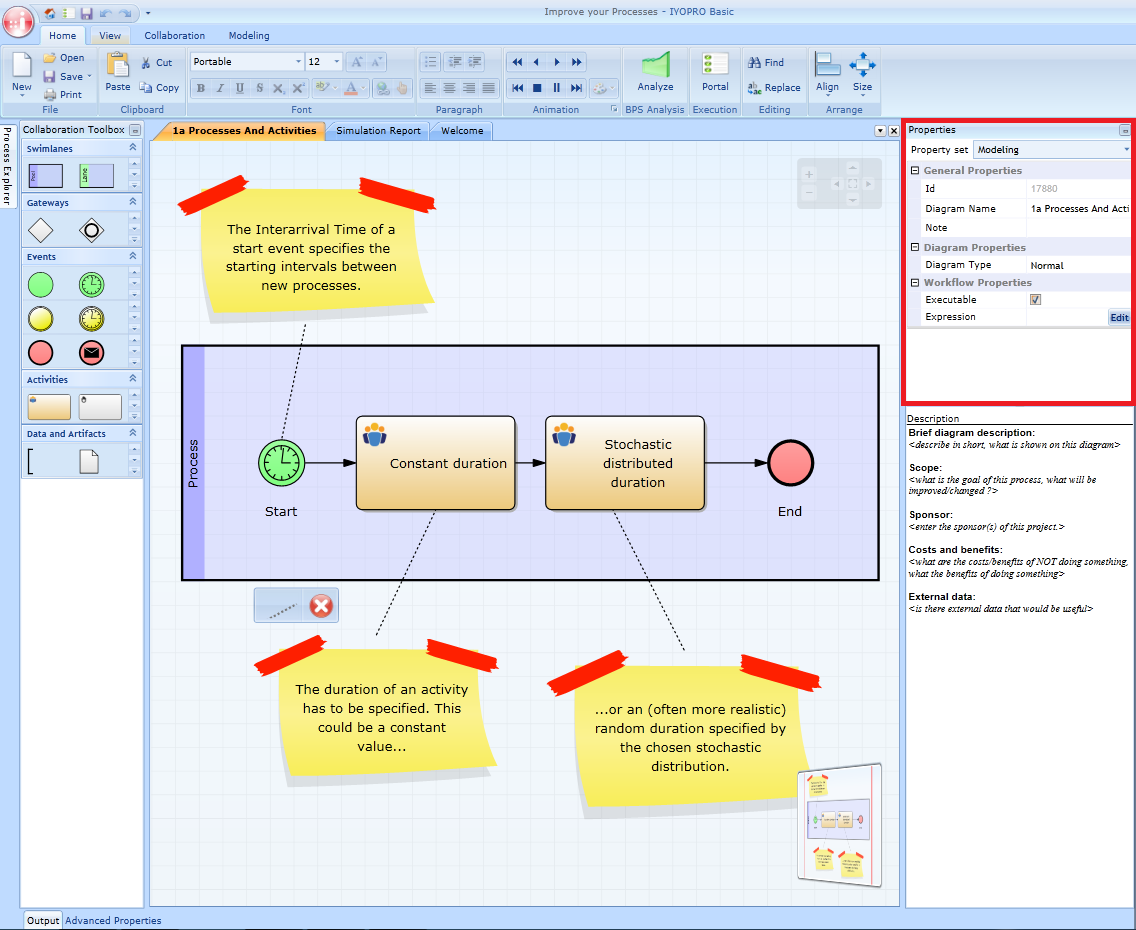
Have a look at our first to-be-simulated model. It consists of a Timer-Start-Event, two successive activities and an End-Event.
|
Figure 1: Model 1a - Processes & Activities / IYOPRO-Link |
First Step: The Inter-arrival Time of the start event
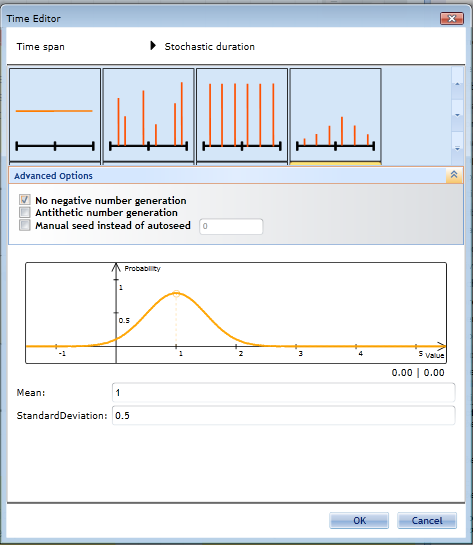
The simulation needs an inter-arrival time, which specifies the starting intervals between new process instances:
The Inter-arrival Time of this specific process is now set. It will always start by an interval of 1 time unit.
|
|
Figure 2: IYOPRO's Simulation Time Editor (in Stochastic Distribution view) |
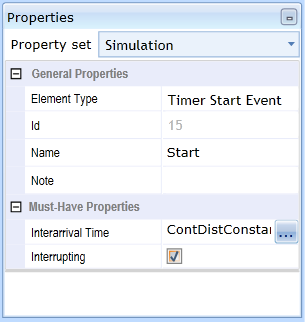
Figure 3: Simulation Properties of the Timer Start Event |
Second Step: The activities' durations
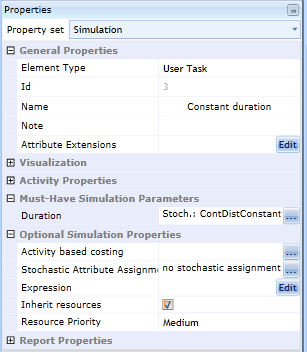
Since activities are time consumptive, they need a stochastic distribution that represents this time consumption in the simulation.
As you might notice, the functionality of setting up an Inter-arrival Time and a Duration works alike.
|
Figure 4: Simulation Properties of an activity |
So far we parametrized the simulation with constant values, which mostly do not resemble the circumstances in reality. Therefore, we will bring in some dynamics in our model by setting up a real stochastic distribution for the second activity's duration.
Third Step: Starting the simulation
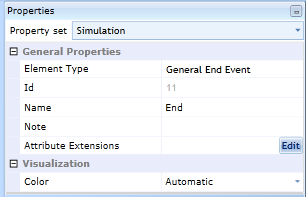
Since the end event does not contain any simulation related options (see Figure 6 below)), we now have set up all necessary properties to start the simulation. Now just click the green Analyze button (in the middle of IYOPRO's top menu bar) and wait for the Progress Bar to finish.
|
Figure 5: IYOPRO - The properties in the highlighted area |
|
Figure 5: Simulation Properties of an end event |